How to Add Products to Your Store in CubeCart
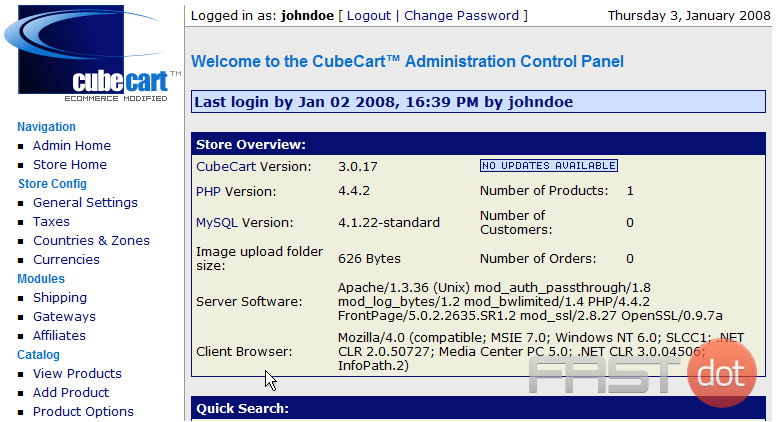
Open your web browser and navigate to your CubeCart admin login page. Enter your username and password to log in.
Once logged in, go to the left-hand menu and click on Inventory. From the dropdown, select Products.
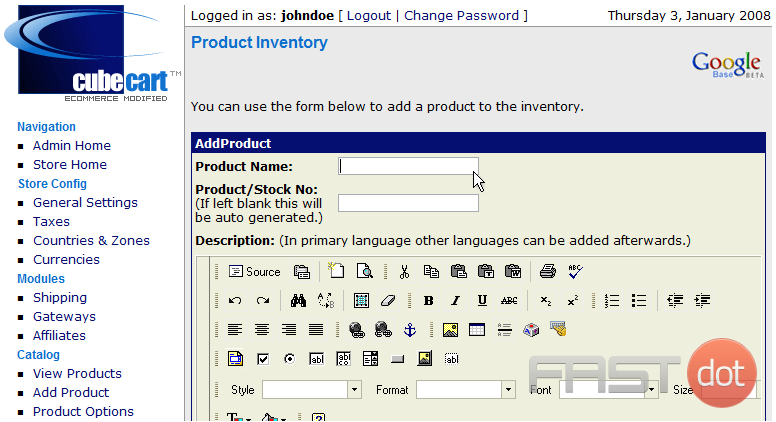
In the Products section, click on the Add Product button located at the top right or within the products listing page.
- Name: Enter the product name.
- Description: Provide a detailed description of the product. This can include features, benefits, usage instructions, and any other relevant information.
- Product Code: Enter a unique identifier for the product (SKU).
- Price: Set the price for the product.
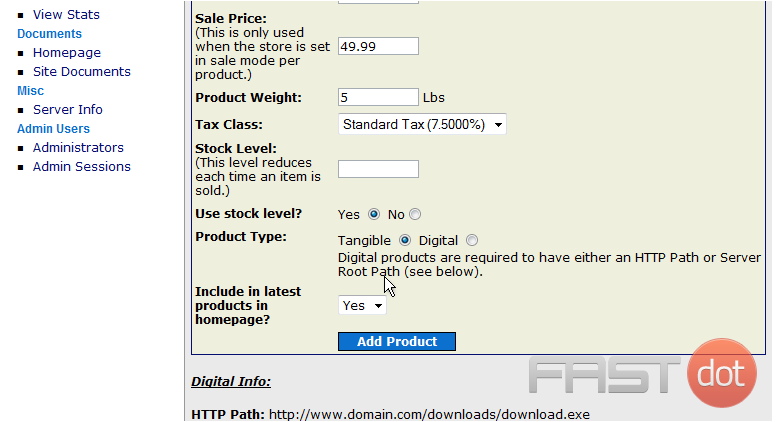
- Sale Price: If applicable, enter a sale price that is lower than the regular price.
- Tax Class: Choose the appropriate tax class for the product.
- Categories: Assign the product to one or more categories by checking the relevant boxes.
- Images: Upload images of the product. You can add multiple images to provide different views of the product.
- Digital/Physical: Specify whether the product is a digital download or a physical item.
- Stock Level: Enter the stock level to track inventory. You can also enable stock level warnings and set a low stock threshold.
If your product has multiple variations (e.g., sizes, colors), you can add attributes under the Options tab. Define the attributes and their values.
- Meta Title: Enter a meta title for the product page.
- Meta Description: Provide a meta description for better search engine optimization.
- Meta Keywords: Add relevant keywords to improve the product’s search engine ranking.
- Manufacturer: Select the manufacturer if applicable.
- Condition: Indicate the condition of the product (e.g., new, used).
- Weight and Dimensions: Enter the weight and dimensions if the product requires shipping.
Once all necessary information is filled out, click the Save button to add the product to your store.
After saving, review the product listing to ensure all details are correct. Make any necessary adjustments and then publish the product to make it live on your store.
Additional Tips
- Bulk Upload: If you have a large number of products, consider using the bulk upload feature by importing products via a CSV file.
- Product Reviews: Enable customer reviews to build trust and provide social proof.
- Product Tags: Use tags to enhance searchability within your store.
14. How to add products to your store in CubeCart
Also check Presta Shop Hosting
Let’s learn how to add products to our store
1) Click Add Product
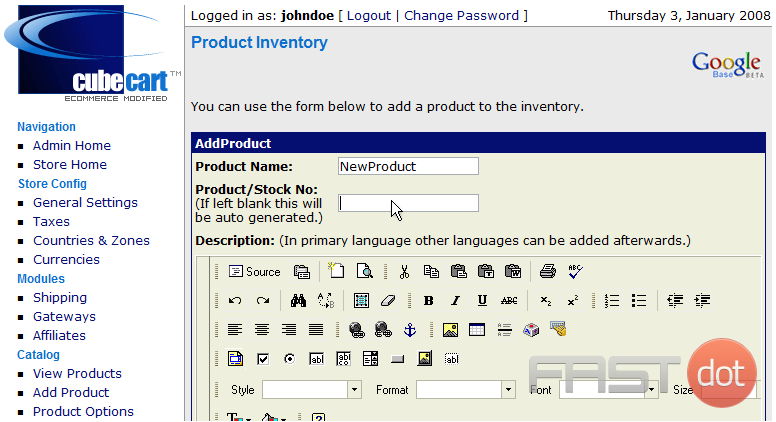
2) Enter the Product Name here
3) Enter a Product/Stock Number here
4) Click here to type a description for the new product

5) Enter the Normal Price for the product here

6) Enter a Sale Price for the product here

7) Enter the Product Weight here

8) Click Add Product
That’s it! The new product has been added
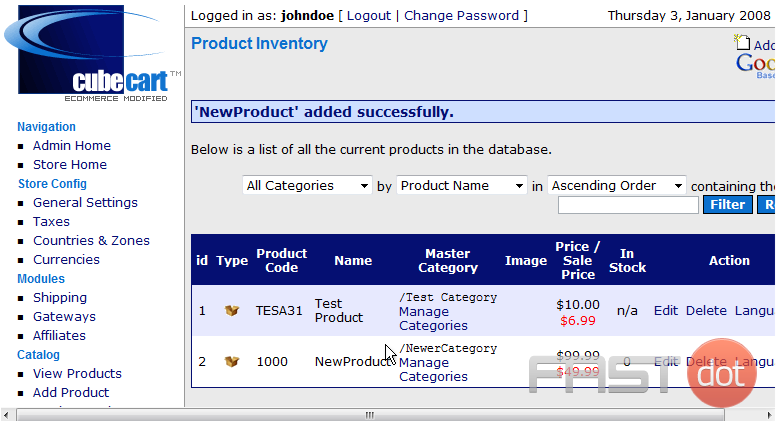
This is the end of the tutorial. You should now know how to add products to your store in CubeCart